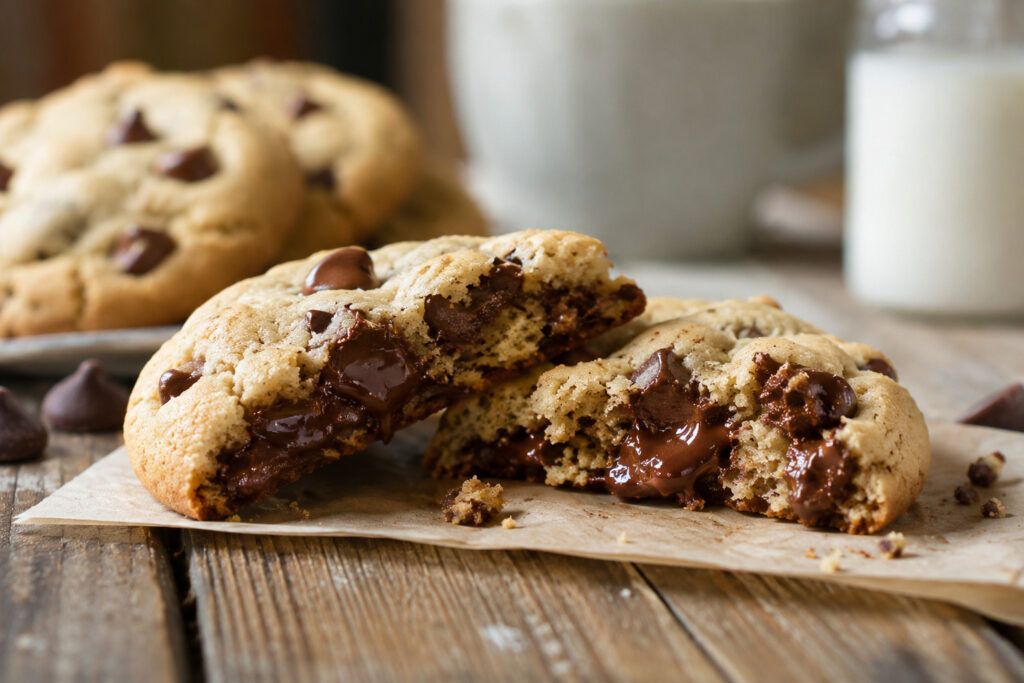
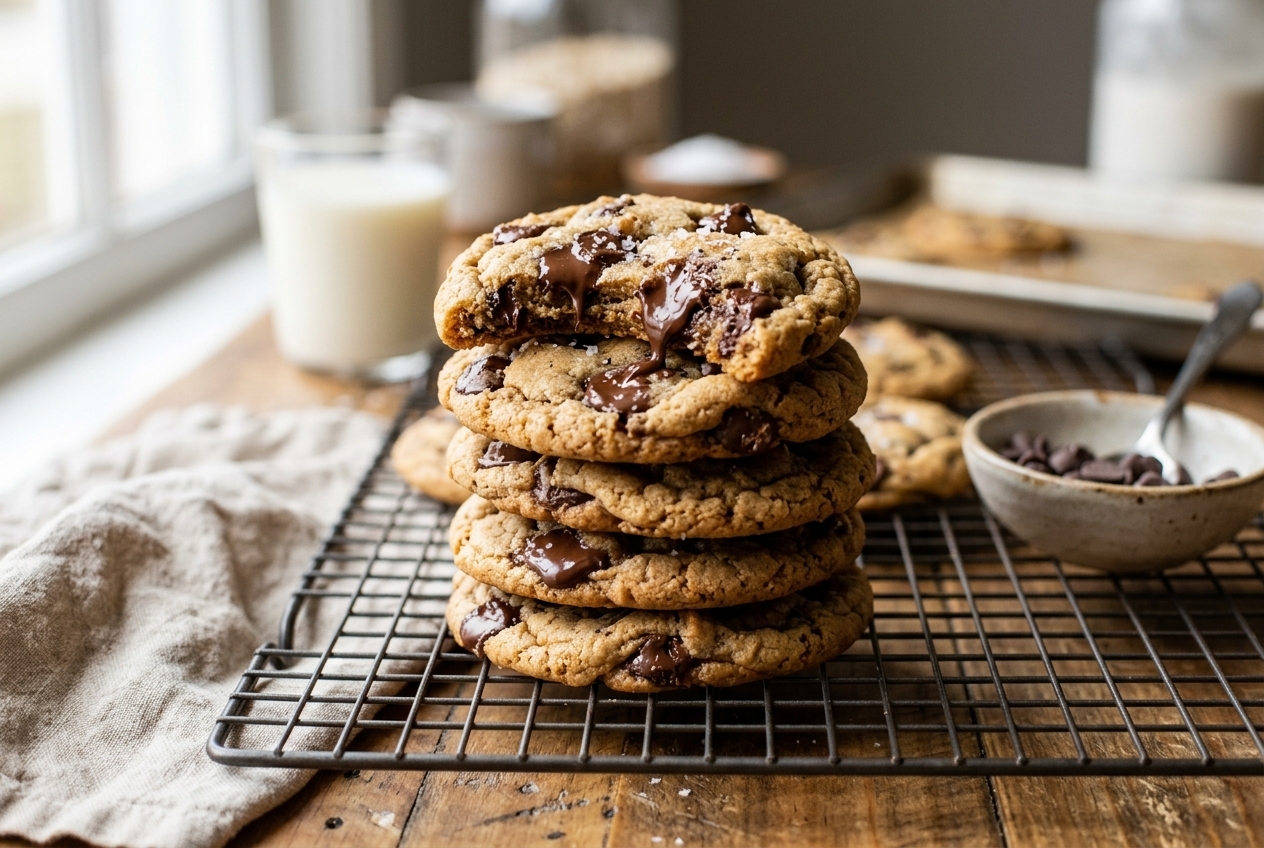
If you’ve been searching for the best gluten-free chocolate chip cookies, you’ve come to the right place. These cookies have everything you love about a classic homemade chocolate chip cookie—golden crispy edges, irresistibly chewy centers, and pools of melted chocolate—without anyone guessing they’re gluten-free.
Whether you’re baking for someone with celiac disease, gluten sensitivity, or simply exploring gluten-free baking, this recipe delivers reliable results every time. There’s no complicated technique or hard-to-find ingredients, just a handful of pantry staples and a few professional baking tips that make all the difference.
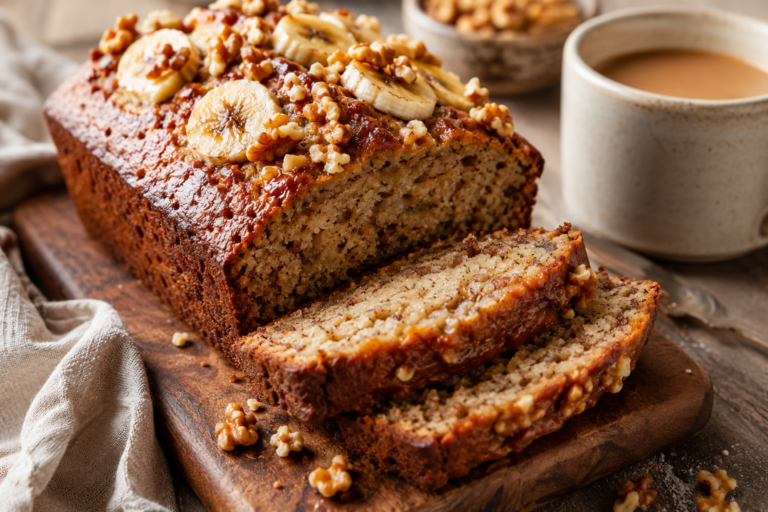
Looking for more gluten-free baking inspiration? Try our Best Gluten-Free Banana Bread Recipe for another soft, moist, and beginner-friendly favorite.
At Ramadan Rituals, we believe gluten-free recipes should taste just as delicious as traditional favorites. That’s why this recipe has been carefully developed to create cookies that are rich, buttery, and full of flavor—not dry, crumbly, or gritty like many gluten-free cookies.
The secret lies in a few simple techniques:
- Using a quality gluten-free flour blend
- Resting the cookie dough before baking
- Measuring ingredients accurately
- Baking just until the edges are golden
These small steps transform ordinary cookie dough into bakery-style cookies with an incredible texture.
Whether you’re baking them for Eid celebrations, Ramadan dessert platters, holiday cookie exchanges, or simply because you’re craving warm chocolate chip cookies, this recipe is one you’ll come back to again and again.
 Ramadan Rituals Recipe Snapshot
Texture: Crispy edges with soft, chewy centers
Flavor: Rich buttery cookie with plenty of chocolate
Difficulty: Beginner-friendly
Prep Time: 20 minutes
Rest Time: 30 minutes
Bake Time: 10–12 minutes
Total Time: About 1 hour
Yield: 20 cookies
Freezer Friendly: Yes
Nut-Free Option: Yes
Dairy-Free Option: Yes
Why You’ll Love These Gluten-Free Chocolate Chip Cookies
There are countless gluten-free chocolate chip cookies recipes online, but this one stands out because it focuses on flavor, texture, and consistency.
Here’s why readers love it:
- Soft and chewy instead of dry
- Perfectly crisp around the edges
- Loaded with gooey chocolate chips
- No gritty texture
- Simple ingredients found in most grocery stores
- Easy enough for beginner bakers
- Great for freezing and meal prep
- Easily adaptable for dairy-free baking
- Stays soft for several days
- Perfect for holidays, Ramadan gatherings, birthdays, or everyday baking
Once you master this recipe, you’ll never need another gluten-free chocolate chip cookies recipe.
What Makes Gluten-Free Cookies Different?
Traditional cookies rely on wheat flour, which contains gluten—a protein that gives dough structure and elasticity. Without gluten, cookie dough behaves differently, which is why many gluten-free cookies turn out dry, dense, or crumbly.
The good news is that modern gluten-free flour blends are designed to mimic the performance of wheat flour. Most quality blends contain rice flour, potato starch, tapioca starch, and xanthan gum, which work together to provide structure and chewiness.
For the best results, always choose a 1-to-1 gluten-free baking flour that already includes xanthan gum. If your blend doesn’t contain xanthan gum, you’ll need to add it separately to help bind the dough.
If you’re new to gluten-free baking or baking for someone with celiac disease, it’s also important to prevent cross-contamination by using clean bowls, utensils, and baking trays. The Celiac Disease Foundation offers practical guidance on maintaining a safe gluten-free kitchen for those with celiac disease.
Ingredients You’ll Need
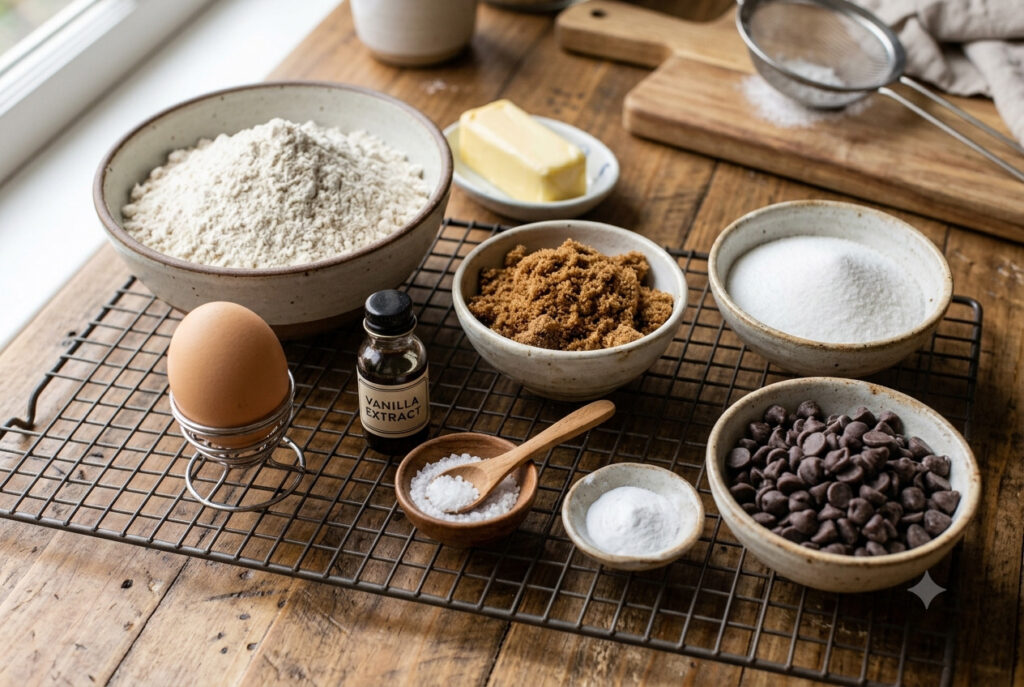
One of the best things about this recipe is that it uses simple, everyday ingredients.
Gluten-Free Flour Blend
A quality gluten-free flour blend is the foundation of this recipe. Look for one labeled “Measure-for-Measure” or “1-to-1 Baking Flour.” These blends are formulated to replace all-purpose flour without additional adjustments.
Different flour blends absorb moisture differently, so the exact texture of your dough may vary slightly. If the dough seems overly sticky, let it rest before adding extra flour, as gluten-free flour continues to absorb moisture over time.
If you’re new to gluten-free baking, Beyond Celiac offers helpful resources on choosing safe gluten-free ingredients and avoiding cross-contact in your kitchen.
Baking Soda
Baking soda helps the cookies rise, spread evenly, and develop golden, crisp edges. Make sure it’s fresh for the best results.
Salt
Salt enhances the sweetness and balances the rich buttery flavor. If you enjoy sweet-and-salty desserts, finish the baked cookies with a light sprinkle of flaky sea salt.
Unsalted Butter
Unsalted butter gives these cookies their rich flavor and chewy texture. For even deeper caramel notes, brown the butter before mixing the dough. It only takes a few extra minutes and adds incredible depth of flavor.
Brown Sugar
Brown sugar keeps the cookies soft and chewy while adding a subtle caramel flavor.
Granulated Sugar
Granulated sugar helps create crisp, lightly golden edges that balance the chewy center.
Egg
One room-temperature egg adds structure, moisture, and helps bind the ingredients together.
Vanilla Extract
Pure vanilla extract enhances every flavor in the dough and gives the cookies a warm, homemade taste.
Chocolate Chips
Use high-quality semi-sweet chocolate chips, dark chocolate chunks, or chopped chocolate bars for the richest flavor. Reserving a handful to press into the tops of the cookies before baking creates beautiful bakery-style chocolate pools.
If you’re baking for someone with celiac disease, always check that your chocolate chips are labeled gluten-free.
Choosing the Best Gluten-Free Flour
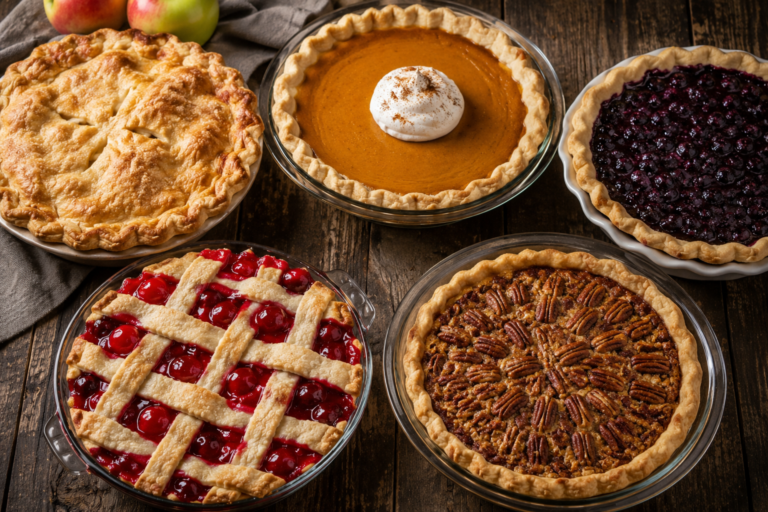
If you’re just getting started with gluten-free baking, our Easy Gluten-Free Pie Crust Recipe is another great way to practice working with gluten-free flour blends.
Not all gluten-free flour blends perform the same, a well-balanced blend should contain a mix of whole-grain flours and starches to create cookies that are soft inside while holding their shape during baking.
Popular blends often include:
- White rice flour
- Brown rice flour
- Potato starch
- Tapioca starch
- Sorghum flour
- Xanthan gum
If you’re interested in understanding how gluten-free labeling works in packaged foods, the U.S. Food & Drug Administration (FDA) provides clear guidance on what products can legally be labeled “gluten-free.” This can help you shop with confidence, especially when choosing baking ingredients.
Step 1: Prepare Your Baking Equipment
Preheat your oven to 350°F (175°C) and line two baking sheets with parchment paper or silicone baking mats. If possible, use a light-colored baking sheet, which helps the cookies bake more evenly and prevents over-browning.
Step 2: Combine the Dry Ingredients
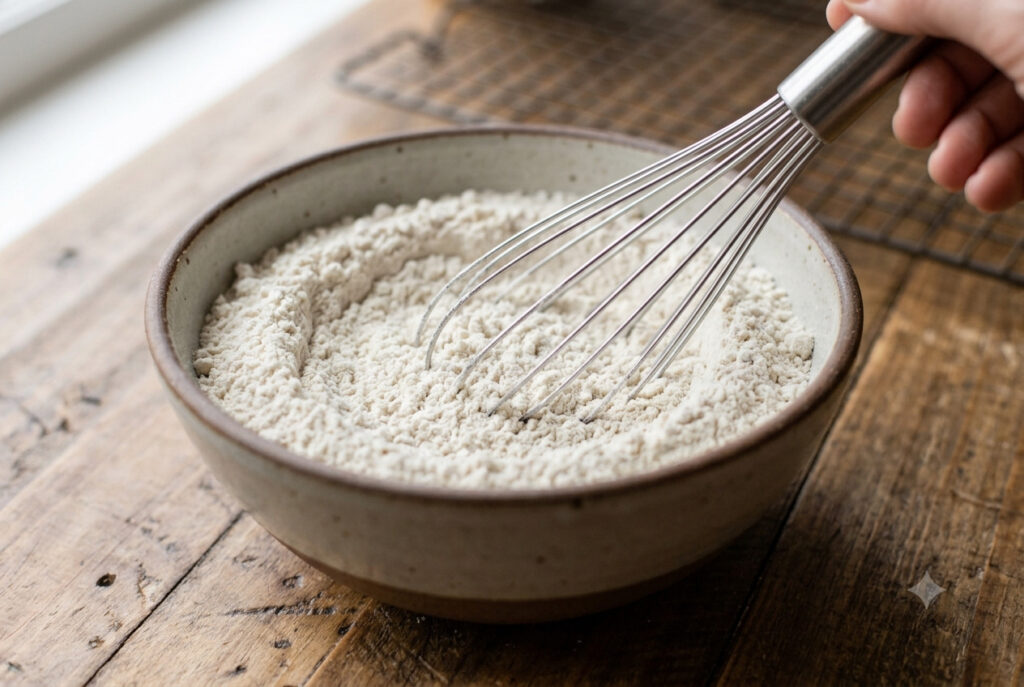
In a medium bowl, whisk together the gluten-free flour, baking soda, and salt until well combined. Whisking evenly distributes the baking soda and helps break up any clumps in the flour.
Step 3: Brown the Butter (Optional but Highly Recommended)
If there’s one step that takes these cookies from good to unforgettable, it’s browning the butter.
Place the butter in a light-colored saucepan over medium heat.
As the butter melts, stir continuously.
After a few minutes, you’ll notice:
- The butter begins to foam.
- Tiny brown specks appear at the bottom.
- The aroma changes from buttery to rich and nutty.
As soon as the butter turns golden brown, immediately remove it from the heat and pour it into a heatproof bowl.
Don’t leave it in the hot pan, or it may continue cooking and burn.
Why Brown Butter?
Brown butter develops deep caramelized flavors by toasting the milk solids naturally found in butter.
The result is:
- Richer flavor
- More complex aroma
- Slightly crispier edges
- Bakery-style taste
It’s a small extra step that makes a big difference.
Step 4: Mix the Wet Ingredients
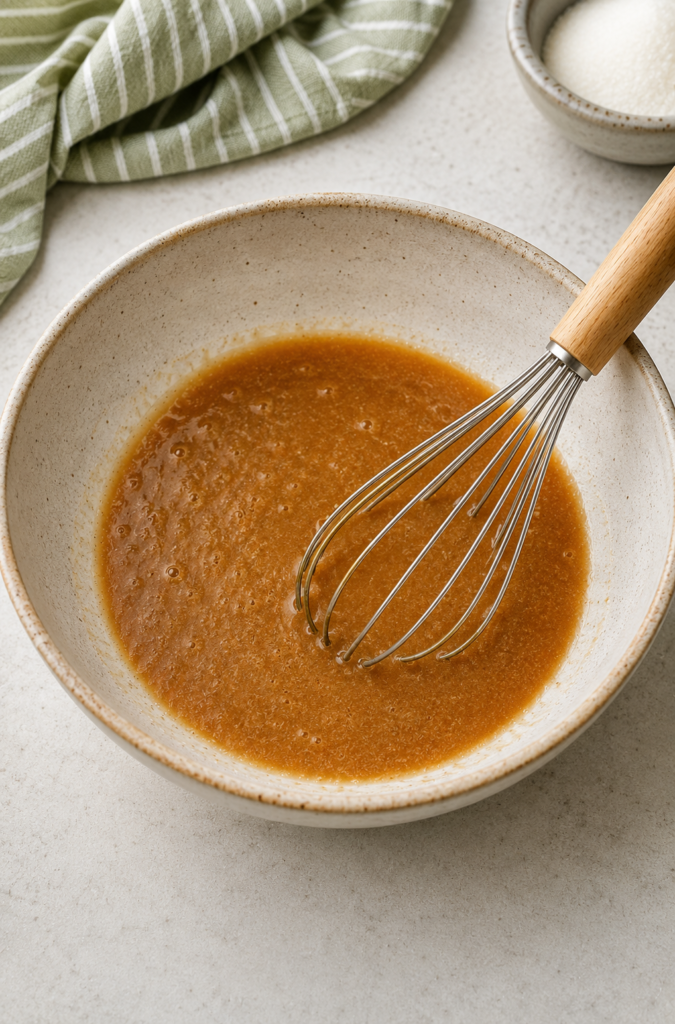
Let the browned butter cool for about 5 minutes. Whisk it with the brown sugar and granulated sugar until smooth, then mix in the egg and vanilla extract until the mixture is creamy.
Step 5: Combine Wet and Dry Ingredients
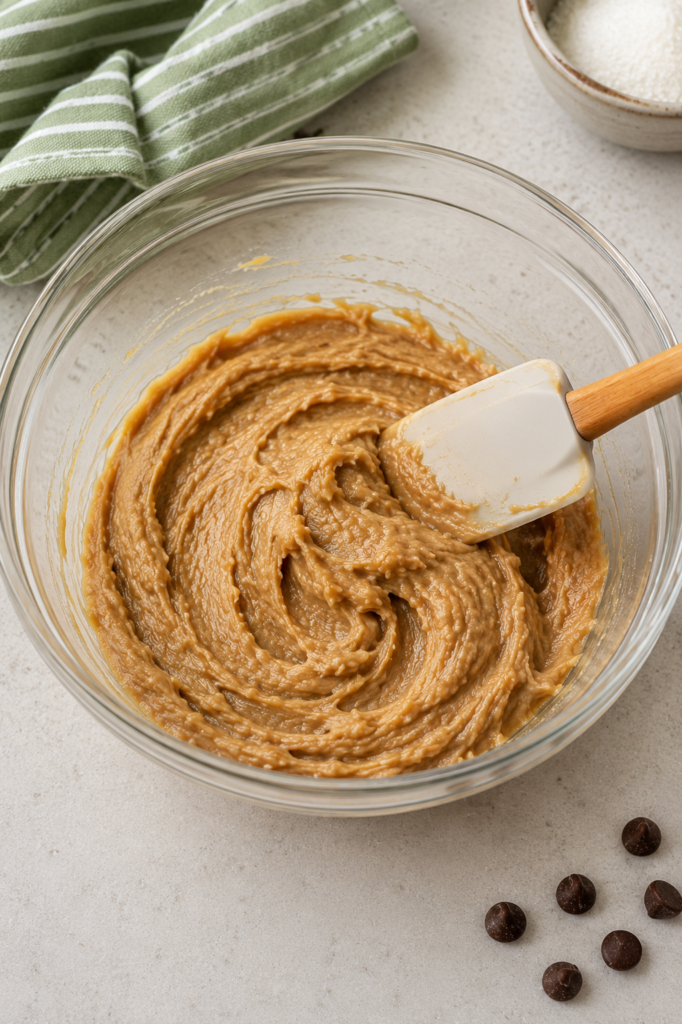
Gradually fold the dry ingredients into the wet ingredients using a silicone spatula. Mix just until no streaks of flour remain, as overmixing can make gluten-free cookies denser
Step 6: Fold in the Chocolate Chips
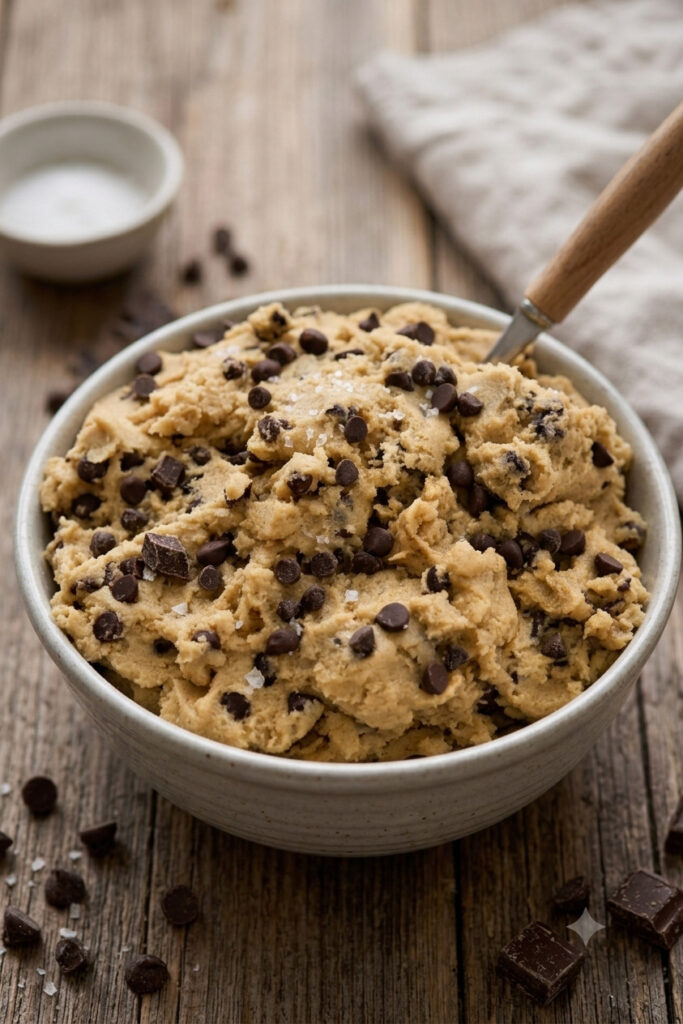
Fold in the chocolate chips until evenly distributed. For bakery-style cookies, press a few extra chocolate chips onto the tops of the dough balls before baking.
Why You Should Let the Dough Rest
Cover the dough and let it rest for 30 minutes. This allows the gluten-free flour to fully absorb moisture, resulting in softer cookies with a better texture and less grittiness. If you have time, chilling the dough overnight develops even more flavor.
Step 7: Scoop the Dough
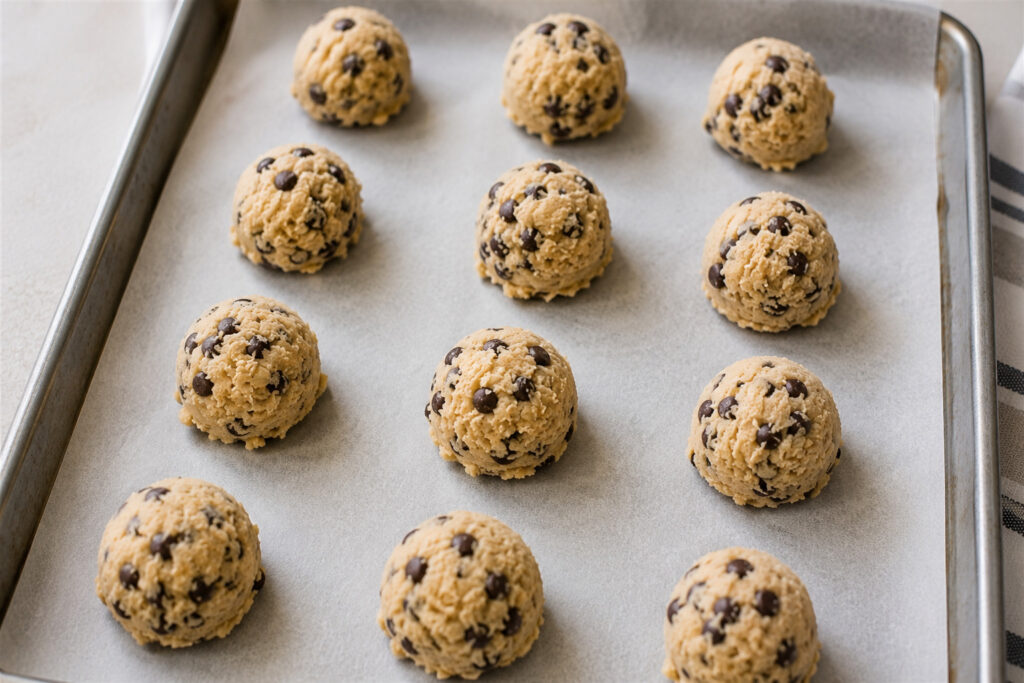
Use a medium cookie scoop or about 2 tablespoons of dough for each cookie. Roll the dough gently between your palms if you prefer perfectly round cookies, then place the dough balls 2 inches (5 cm) apart on the prepared baking sheets to allow room for spreading.
Step 8: Bake
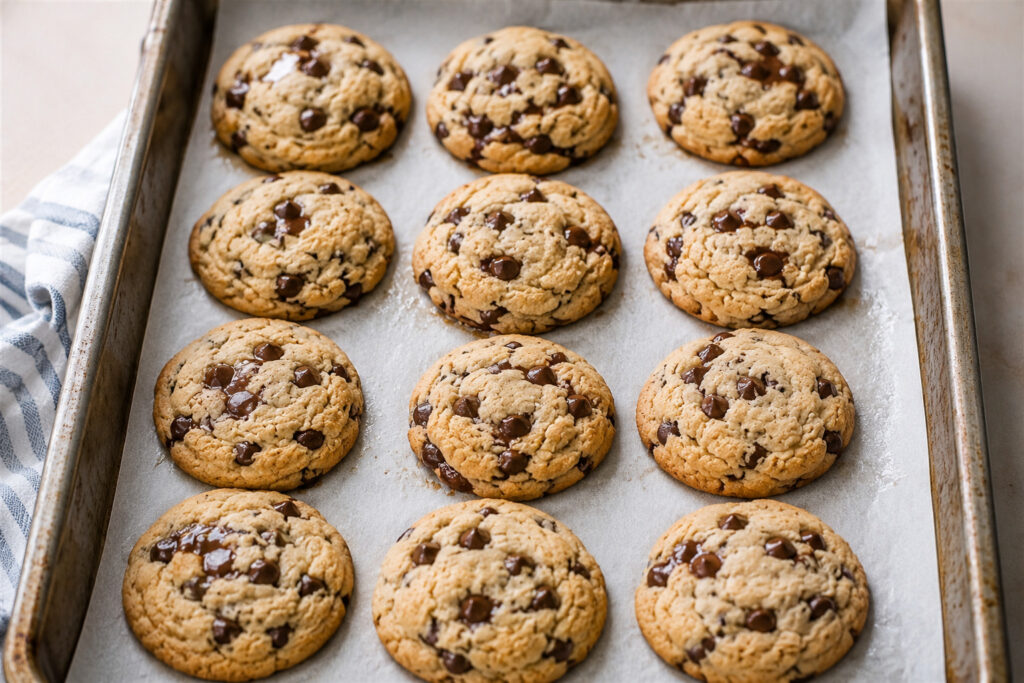
Bake for 10–12 minutes.
The cookies are ready when:
- The edges are lightly golden.
- The centers still appear slightly soft.
- The tops are set but not dry.
Avoid waiting until the centers look fully baked.
They’ll continue cooking on the baking sheet after leaving the oven.
Step 9: Cool Properly
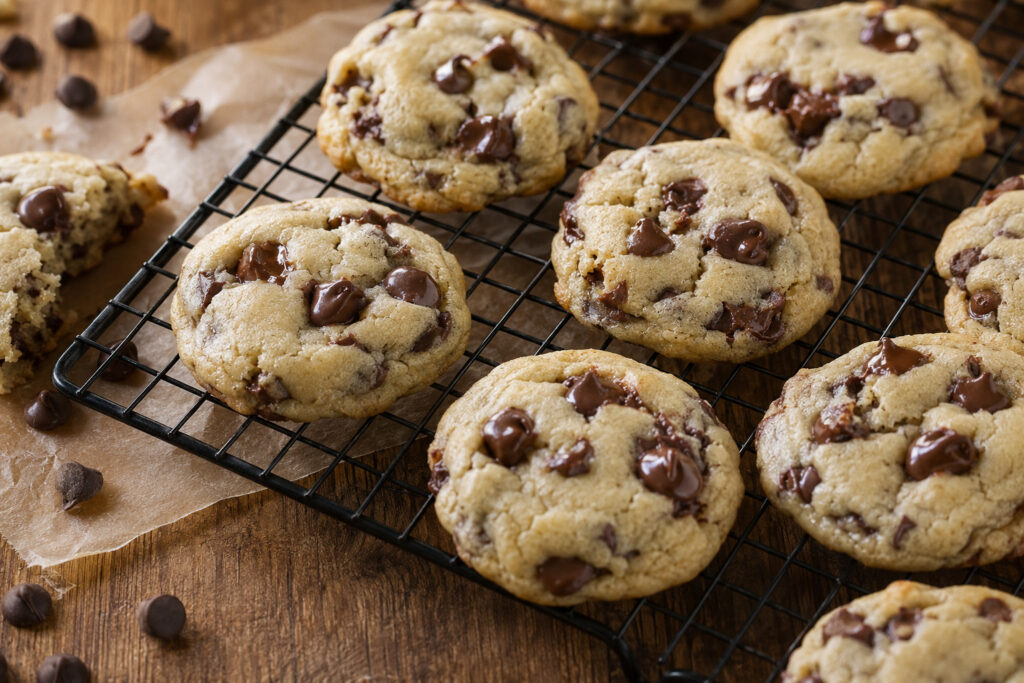
Let the cookies cool on the baking sheet for 5 minutes before transferring them to a wire cooling rack. This allows them to firm up without overbaking. If you’d like, sprinkle a pinch of flaky sea salt over the warm cookies for a delicious sweet-and-salty finish.
If you enjoy homemade baked treats, don’t miss our Easy Gluten-Free Donuts Recipe, another reader favorite that’s perfect for breakfast or dessert.
More Gluten-Free Recipes You’ll Love
If you enjoyed these gluten-free chocolate chip cookies, here are a few more recipes to try:
Expert Baking Tips
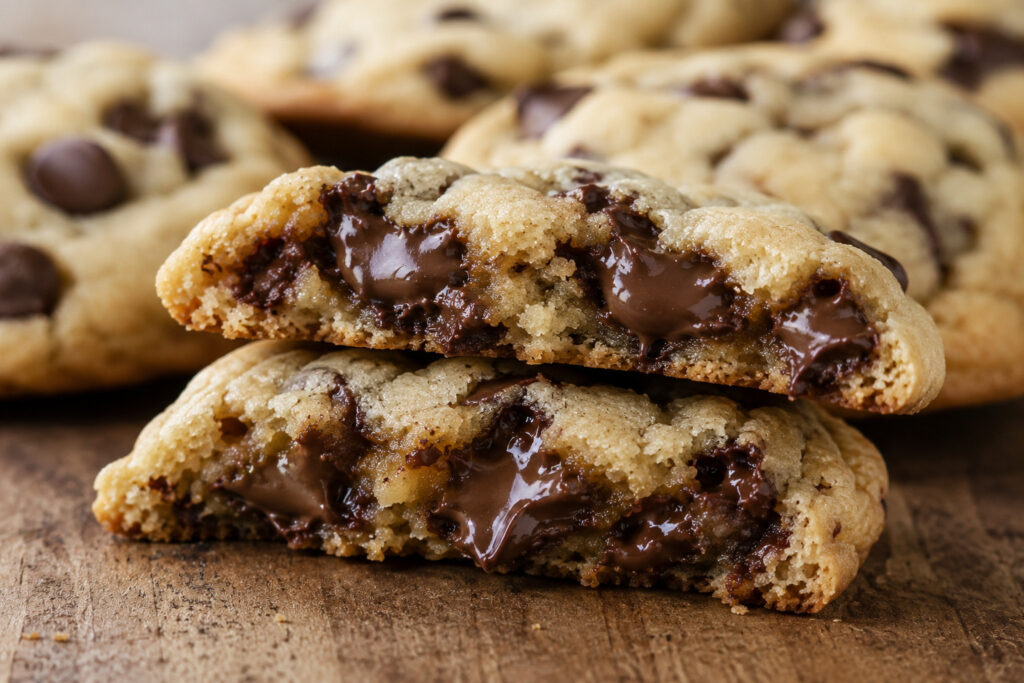
These small details separate good cookies from unforgettable ones.
Measure Flour Carefully
Too much gluten-free flour is the most common reason cookies become dry.
Whenever possible, weigh your flour using a kitchen scale.
If using measuring cups:
- Spoon flour into the cup.
- Level with a knife.
- Never scoop directly from the bag.
Use Room Temperature Ingredients
Eggs blend more evenly into the dough when they’re not cold.
Cold ingredients can also cause browned butter to solidify too quickly.
Don’t Overmix
Once the flour disappears, stop mixing.
Overworking gluten-free dough can make cookies denser than necessary.
Don’t Overbake
This may be the most important tip.
Cookies should look slightly underbaked in the center when you remove them from the oven.
They’ll finish baking on the hot tray.
That’s how you achieve soft, chewy centers.
Add Chocolate on Top
Reserve a few chocolate chips before mixing.
Press them onto each dough ball just before baking.
It takes only a few seconds but gives the cookies a beautiful bakery-style appearance.
Common Mistakes to Avoid
Even experienced bakers occasionally run into problems. Here’s how to avoid the most common issues.
My Cookies Spread Too Much
Possible causes:
- Butter was too hot.
- Dough wasn’t rested.
- Too little flour.
- Baking sheet was warm.
Solution
Rest the dough longer or chill it for 20–30 minutes before baking.
My Cookies Are Dry
Usually caused by:
- Too much flour
- Overbaking
- Measuring cups incorrectly packed with flour
Always bake until the centers still look slightly soft.
My Cookies Are Gritty
This almost always means the gluten-free flour didn’t have enough time to absorb moisture.
Let the dough rest for at least 30 minutes before baking.
My Cookies Didn’t Spread
Possible reasons:
- Too much flour
- Oven temperature too low
- Old baking soda
Always check that your baking soda is fresh and your oven is properly preheated.
Ramadan Rituals Pro Tip
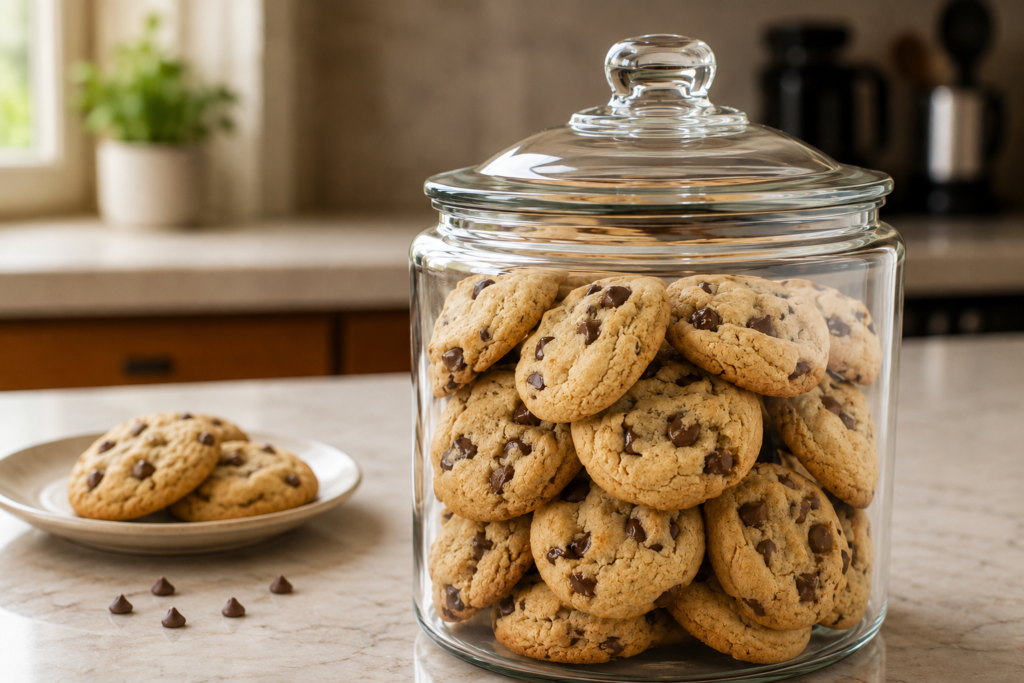
If you’re preparing for Ramadan, Eid, or a family gathering, make a double batch and freeze half of the cookie dough.
Whenever guests arrive, simply bake a few frozen cookie dough balls.
Freshly baked gluten-free chocolate chip cookies filling the kitchen with the aroma of butter and vanilla are one of the easiest ways to make visitors feel welcome—and no one will believe they’re gluten-free.